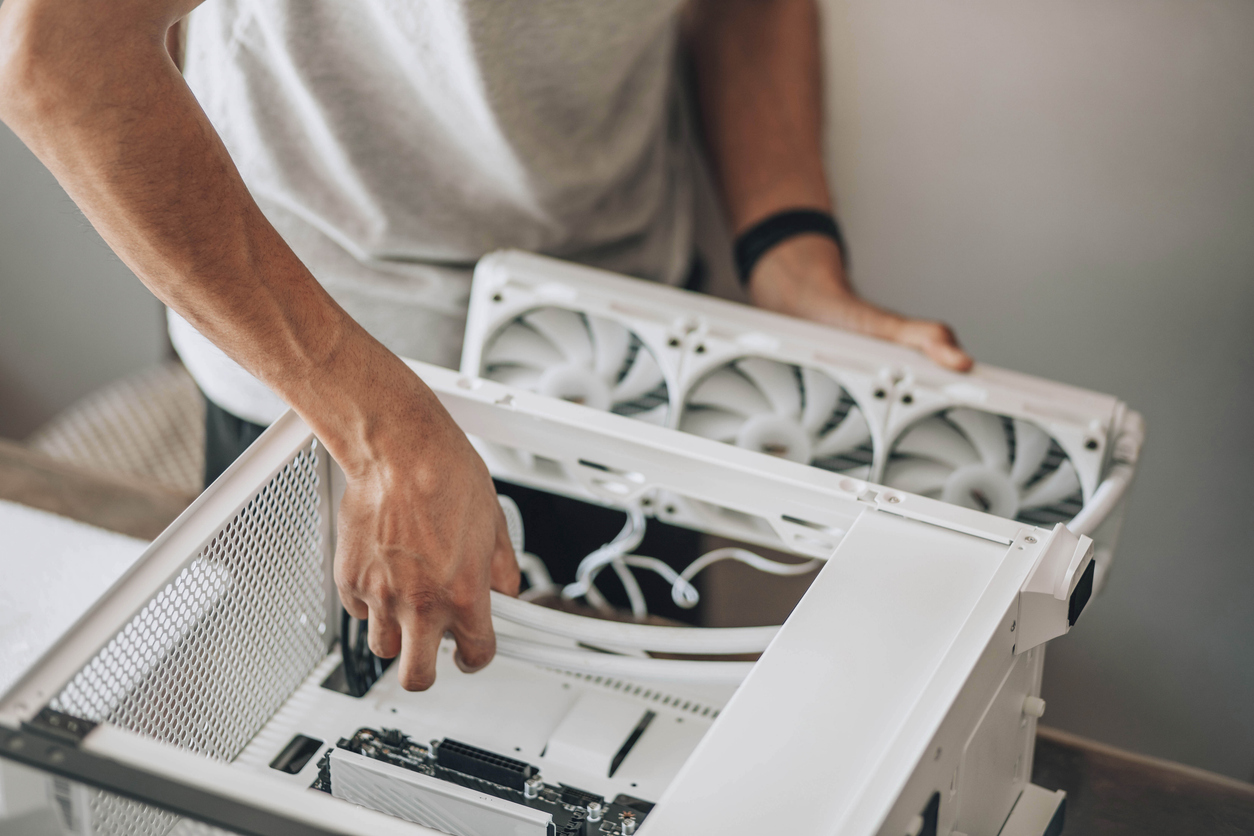
Building your own custom PC can be one of the most rewarding tech experiences. It not only allows you to tailor the machine to your exact needs—whether it’s for gaming, creative work, or high-performance computing—but it also ensures that every dollar is spent where it matters most. Unlike pre-built systems, a custom PC offers more performance for your money, easier upgrades, and a better understanding of your own hardware.
In this comprehensive guide, we’ll walk you through how to build a custom PC focused on maximum performance, covering component selection, compatibility, assembly, and optimization.
1. Define Your Performance Goals
Before purchasing parts, you need to understand what “maximum performance” means for your needs.
Common Use Cases:
- Gaming: High frame rates, low latency, real-time ray tracing
- Content Creation: Fast rendering, multitasking, color accuracy
- Software Development: Compilation speed, virtualization, memory
- Machine Learning: GPU compute power, large memory footprint
Define your use case and budget—it will guide every component decision.
2. Choose the Right Processor (CPU)
The CPU is the brain of your PC and impacts overall performance across all tasks.
Top Performance Picks (2025):
- Intel Core i9-14900K: Great for gaming and productivity
- AMD Ryzen 9 7950X3D: Excellent multithreaded and gaming performance
- AMD Threadripper Pro: For high-end workstations and creators
Ensure compatibility with your motherboard’s socket and chipset.
3. Select a Powerful Graphics Card (GPU)
For gaming, rendering, and AI, the GPU is often the most important component.
Recommended GPUs for Performance:
- NVIDIA GeForce RTX 4090: Top-tier gaming and AI workloads
- AMD Radeon RX 7900 XTX: High-end gaming at a lower cost
- NVIDIA RTX A6000: For professional 3D rendering and ML
Match GPU capabilities to your monitor resolution and refresh rate.
4. Pick the Right Motherboard (Mainboard)
The motherboard connects all your components and dictates future upgradability.
Key Considerations:
- Chipset compatibility: Match with your CPU
- Form factor: ATX (full), Micro-ATX (smaller), Mini-ITX (compact)
- Features: PCIe slots, USB ports, Wi-Fi, M.2 SSD support
- VRM quality: Crucial for CPU stability during overclocking
Brands like ASUS ROG, MSI MEG, and Gigabyte AORUS offer performance boards with advanced features.
5. RAM: How Much and How Fast?
Memory affects how well your PC handles multitasking and memory-intensive tasks.
Recommendations:
- Gaming and general use: 32GB DDR5 @ 6000MHz+
- Content creation or ML: 64GB–128GB DDR5 for smooth workflow
- Look for: Low latency (CL) and motherboard compatibility
Dual-channel kits (2x sticks) are ideal for performance.
6. Storage: Speed and Capacity
Fast storage reduces load times and improves system responsiveness.
Types of Drives:
- NVMe SSD (PCIe 4.0 or 5.0): Fastest option for boot drives
- SATA SSD: Slower but still great for bulk storage
- HDD: Budget-friendly but slower; ideal for backups
For max performance, use a 1TB–2TB NVMe SSD for OS and key programs.
7. Power Supply Unit (PSU)
Your PSU must deliver stable power to all components.
Things to Consider:
- Wattage: 850W–1200W for high-end builds
- Efficiency rating: 80 Plus Gold or Platinum
- Modular design: Easier cable management
Reliable brands: Corsair, Seasonic, EVGA, and be quiet!
8. Cooling: Air vs. Liquid
High-performance components generate heat, and good cooling is essential.
Cooling Options:
- Air Coolers: Easier to install, lower maintenance
- AIO Liquid Coolers (240mm–420mm): Better for overclocking and aesthetics
- Custom Loops: Maximum thermal performance but expensive and complex
Check CPU TDP (thermal design power) to match your cooling solution.
9. PC Case: Form Meets Function
Your case determines airflow, component compatibility, and aesthetics.
Tips for Choosing a Case:
- Ensure support for GPU length and radiator size
- Good airflow with mesh panels and fan options
- Cable management and expansion slots
- RGB and tempered glass for aesthetics (optional)
Brands like Lian Li, Fractal Design, and NZXT offer functional and stylish cases.
10. Monitor, Peripherals, and OS
To complete your setup, invest in high-quality external components.
Monitors:
- 1440p @ 144Hz for high-performance gaming
- 4K monitors for creatives
- OLED or IPS panels for color accuracy
Peripherals:
- Mechanical keyboards, high-DPI mice, and fast-response headsets
- Consider brands like Logitech, Corsair, and Razer
Operating System:
- Windows 11 Pro for gaming and productivity
- Linux (Ubuntu, Pop!_OS) for dev and open-source users
11. Assembly: Putting It All Together
Steps:
- Install CPU and cooler on motherboard
- Insert RAM and M.2 SSDs
- Mount motherboard in case
- Install PSU and route cables
- Mount GPU and connect power
- Plug in fans and front panel connectors
- Boot up and enter BIOS
Watch tutorials or follow your motherboard manual to avoid missteps.
12. BIOS and Software Optimization
After assembly, optimize your system for performance.
What to Do:
- Update BIOS for stability and compatibility
- Enable XMP profile for RAM
- Install GPU and chipset drivers
- Monitor temps with software like HWMonitor or HWiNFO
- Benchmark with Cinebench, 3DMark, or UserBenchmark
Overclocking can provide extra performance—but do so cautiously.
13. Troubleshooting Tips
Common first-time builder issues include:
- Loose cables or RAM not fully seated
- No boot due to missing BIOS update
- Overheating from incorrect cooler placement
Take your time and consult community forums like Reddit’s r/buildapc or Tom’s Hardware for help.
Building a custom PC for maximum performance is a satisfying journey that rewards you with a powerful, personalized machine. With thoughtful planning, the right components, and a bit of patience, you can outperform many pre-built systems and have fun doing it. Whether you’re a gamer pushing 240 FPS or a creative working with 8K video, a custom build gives you total control over your computing experience—and the freedom to upgrade as you grow.
